Renovating or remodeling a space can dramatically enhance its appearance, functionality, and value. However, once the construction crews have packed up and the dust has settled, what remains is often a mess that needs serious attention.�
Post-renovation clean-up is not just about tidying up; it involves deep cleaning, health and safety compliance, and preparation of the space for everyday use. Whether you are managing a commercial property, a residential home, or an industrial site, understanding the best practices for post-renovation clean-up is essential to ensure a smooth transition from construction zone to livable or operational space.
Why Post-Renovation Cleaning Is Crucial?
Renovation projects generate a significant amount of debris, dust, and hazardous materials. Even in smaller upgrades, drywall dust, sawdust, insulation fibers, and chemical residues can infiltrate surfaces and air ducts. If left unaddressed, these contaminants may compromise indoor air quality and trigger respiratory issues.�
In commercial settings, cleanliness also affects professionalism and first impressions. Moreover, many warranties and safety inspections require that the space be thoroughly cleaned before occupancy.
Beyond health and safety, post-renovation cleaning ensures that your investment in new materials like tiles, cabinetry, or flooring looks its best. Dust and grime can diminish the visual impact of upgrades, while improperly handled surfaces may suffer scratches or discoloration.
Step-by-Step Best Practices for Effective Clean-Up
A structured approach is key to successful post-renovation clean-up. The following practices cover essential tasks from top to bottom, ensuring a space that is safe, sanitary, and ready for use.
Start with Air Quality and Ventilation
Before deep cleaninghttps://aboutcfs.com/the-ultimate-guide-to-deep-cleaning-for-businesses/ any surfaces, it is important to address air quality. During renovations, dust can become airborne and settle into ventilation systems, posing risks long after the work is complete. Clean all air vents, replace HVAC filters, and run purifiers if necessary. Opening windows for natural ventilation is also recommended in the early stages of clean-up.
In more extensive projects, duct cleaning may be required, especially if drywall sanding or asbestos abatement was involved. This step ensures that fresh air flows through the system and contaminants are not continually recirculated.
Remove Large Debris and Construction Waste
Begin by removing larger debris such as leftover wood, wiring, nails, or packaging materials. This makes it easier to focus on smaller particles later. Rent a dumpster if needed, especially for commercial sites or full-home remodels. Be mindful of proper disposal methods for hazardous materials like paint cans, adhesives, or solvents. Many jurisdictions have strict rules regarding these.
Dust and vacuum every surface thoroughly.
Construction dust finds its way into the smallest of crevices. Use industrial-grade vacuums with HEPA filters to remove fine particles from floors, walls, ceilings, baseboards, and light fixtures. Vacuuming should precede mopping or wiping, as dry dust can smear when wet.
Pay special attention to window sills, door frames, inside cabinets, and behind appliances. Even vertical surfaces like walls and doors will likely need dusting. Multiple rounds of dusting may be necessary, depending on the scale of the renovation.
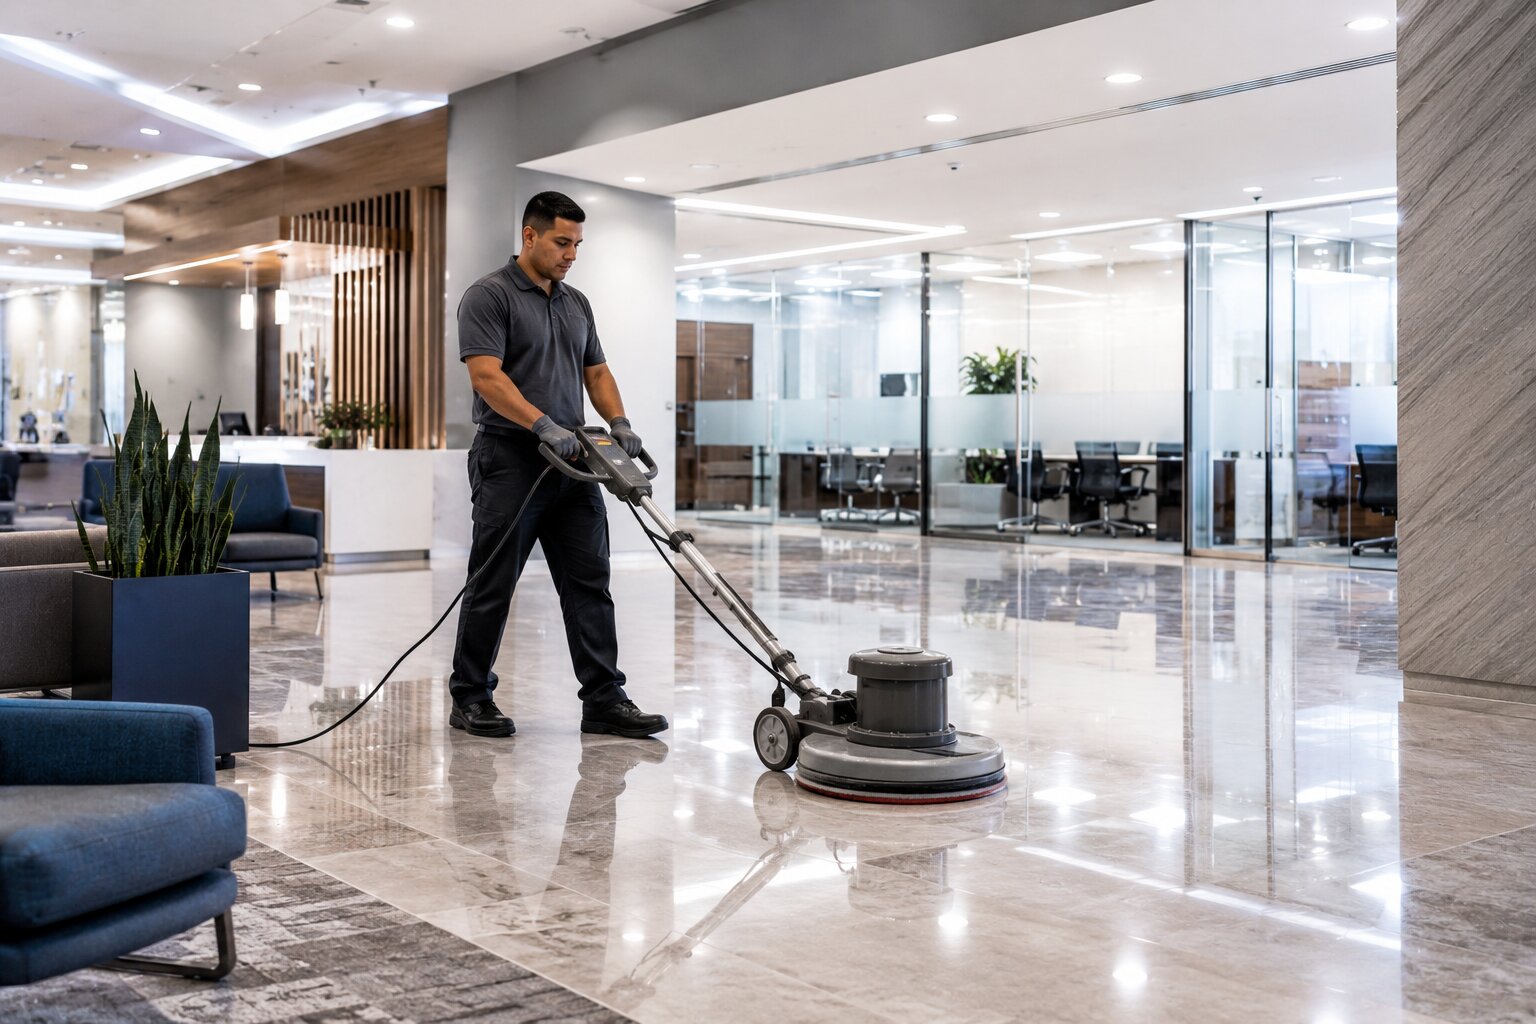
Deep Clean Flooring and Upholstery
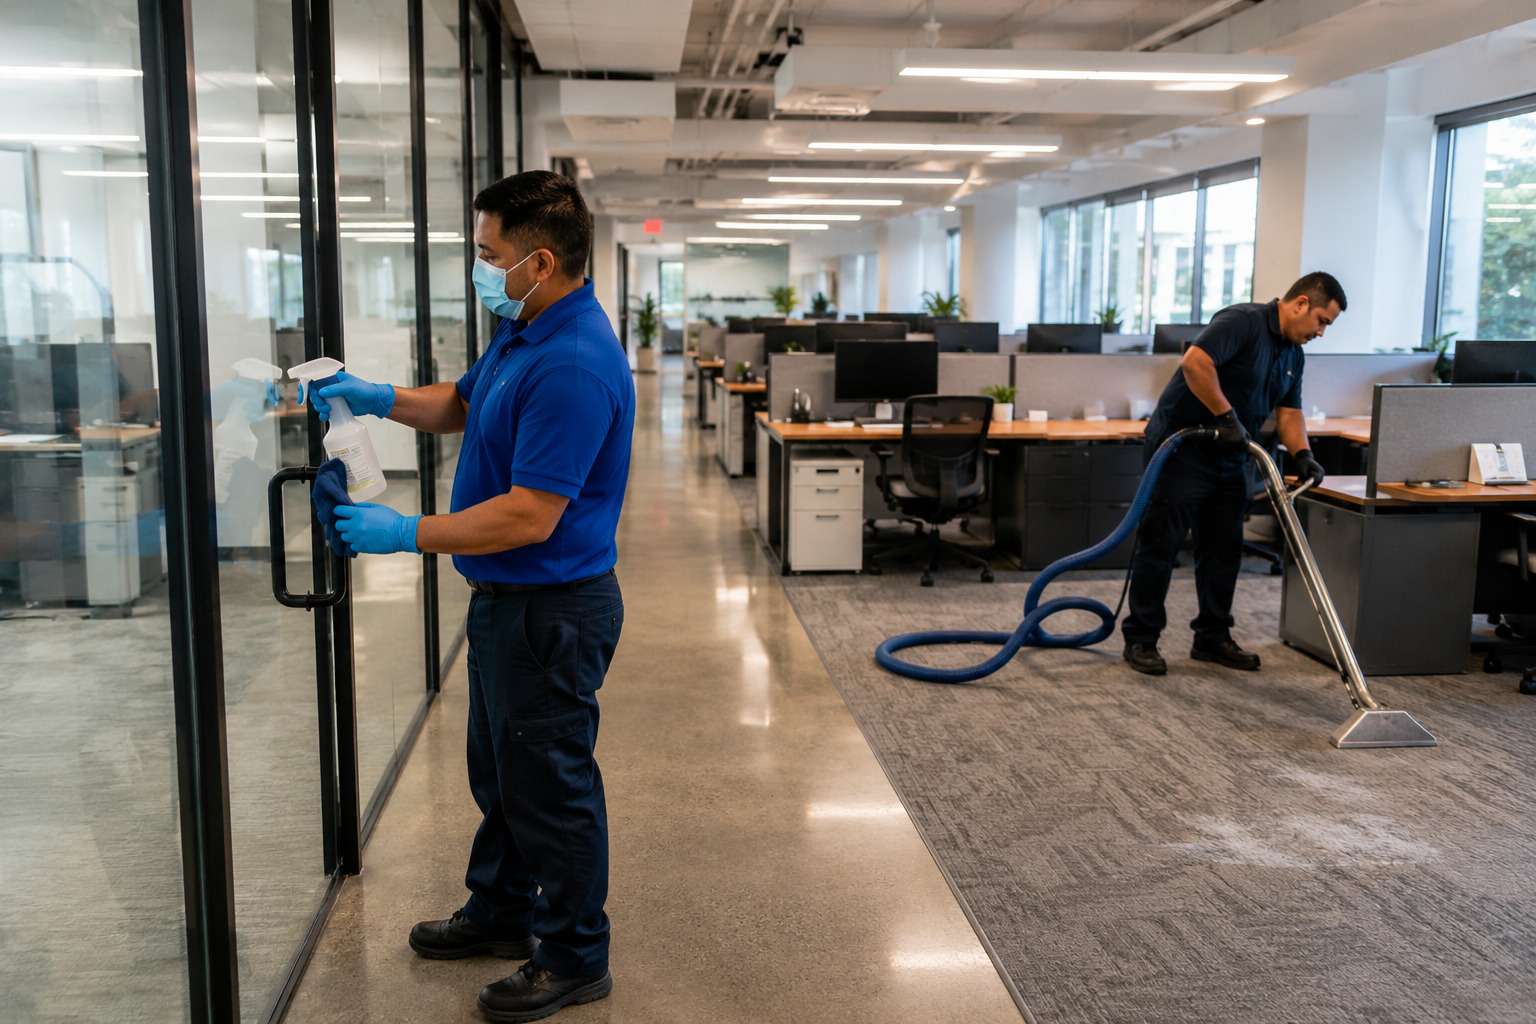
Different flooring types require different care post-renovation. For hardwood or laminate, use damp cloths and approved cleaners to avoid damaging the finish. For carpets, professional steam cleaning is highly recommended to lift embedded dust and debris.
Furniture and upholstery should also be cleaned or vacuumed, especially if they were not removed from the space during renovation. Dust particles can easily settle into fabric fibers, causing irritation and a dull appearance.
Clean and Polish Windows and Fixtures
Windows often bear the brunt of renovation grime, with dust, smudges, and paint splatters affecting their clarity. Use non-abrasive cleaners and microfiber cloths to restore transparency. Fixtures such as door handles, cabinet pulls, and light switches should be wiped with disinfectant to eliminate germs and dust residue.
New installations like stainless steel appliances or bathroom fittings may also require polishing to remove fingerprints and manufacturing residue.
Sanitize Kitchens, Bathrooms, and High-Touch Areas
Sanitizing areas like kitchens and bathrooms is essential to eliminate bacteria and ensure food safety and hygiene. Clean countertops, backsplashes, sinks, and faucets using antimicrobial solutions. Toilets, tubs, and tiles should be scrubbed thoroughly, and mirrors cleaned for a spotless finish.
Don�t overlook high-touch surfaces like thermostats, railings, elevator buttons (in commercial settings), and electronic interfaces. These should be wiped down using disinfectant as part of the final-stage cleaning.
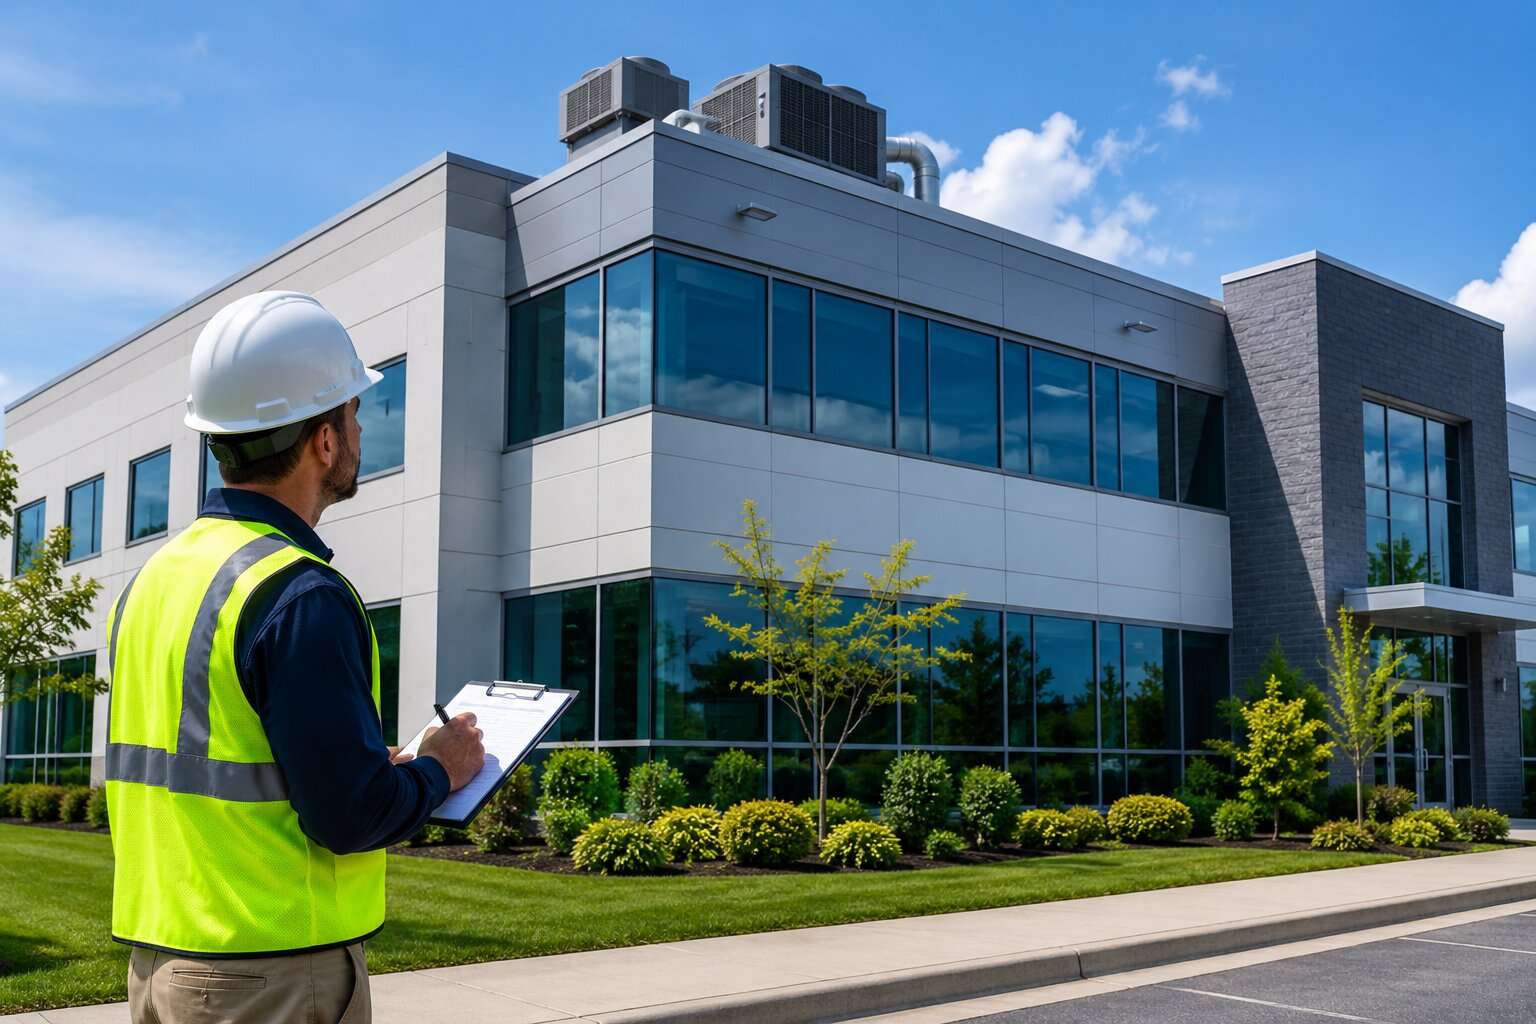
Conduct a Final Inspection and Spot-Cleaning
After major cleaning steps are complete, inspect the space under natural and artificial light. This helps identify streaks on glass, dust film on furniture, or any missed areas. Perform touch-ups as needed and make sure the site meets any required cleaning or safety standards, especially if it is to be handed over to clients or tenants.
In larger buildings, consider creating a checklist for each area to ensure consistency and accountability throughout the clean-up process.
Benefits of Hiring Professional Post-Renovation Cleaners
While DIY cleaning is possible for smaller projects, hiring professional cleaners offers several advantages, especially for commercial spaces or large-scale renovations. Professionals come equipped with industrial-grade tools, certified cleaning solutions, and protective gear. They are trained to handle complex tasks such as air duct cleaning, chemical residue removal, and floor polishing.
Moreover, outsourcing the task ensures faster turnaround and reduces the risk of missing critical areas. It also provides peace of mind knowing that your newly renovated space will be delivered in pristine, move-in-ready condition.
Professional cleaners often offer tailored packages, including one-time deep cleans or scheduled follow-ups, which are particularly useful for phased renovation projects or post-construction quality control.

Common Mistakes to Avoid During Post-Renovation Clean-Up
A few errors can diminish the effectiveness of your cleaning efforts. One common mistake is rushing through the process or starting too soon. Cleaning while the dust is still settling can lead to double work. It is advisable to wait at least 24 to 48 hours after major construction activities before beginning the final clean.
Another issue is using the wrong cleaning products, especially on sensitive surfaces like granite countertops, hardwood floors, or brushed metal. Always use materials and tools suitable for the finishes installed during the renovation.
Neglecting air filters or not inspecting ductwork is another pitfall. Without addressing the HVAC system, even a spotless room can become dusty again in a matter of hours.
Conclusion
Post-renovation clean-up is more than an aesthetic task. It is an essential step that ensures the safety, comfort, and longevity of your newly upgraded space. By approaching the clean-up process systematically and understanding the unique needs of each material and fixture, you can preserve the value of your investment.�
Whether done in-house or through professional cleaners, adhering to best practices is key to transforming your construction zone into a polished, livable environment.